Setting up 2D cases
In the case of axially symmetrical cases, setting them up as 2D simulations will allow for much faster calculation time without losing accuracy.
In this article we will take a look on how to set up a 2D simulation using FromCAD approach.
Geometry
For 2D cases you have to make sure to create the CAD files correctly.
- You must create an air box yourself, CENOS does not yet support automatic air box generation for 2D fromCAD cases.
- Same as in 3D cases, the air should not have any geometry cut out, it should be a large rectangle, big enough for magnetic field and any intended complex motion. The recommended air box size is two to three times larger than the geometry.
- The geometry MUST be on the XY plane (Z=0).
- The axial symmetry axis must be Y.
- If the geometry can be approximated as infinite, for example, a long pipe, and you intend to use simple motion, make sure that the beginning and end of the workpiece are on the same edge as the air box edges. After that you can set the parameters the same as in this Simple motion tutorial for 3D cases.
Example case
This example will go over the necessary steps to set up a 2D simulation in CENOS Induction Heating software.
First, you should import your CAD file or files using the Import CAD approach in CENOS.
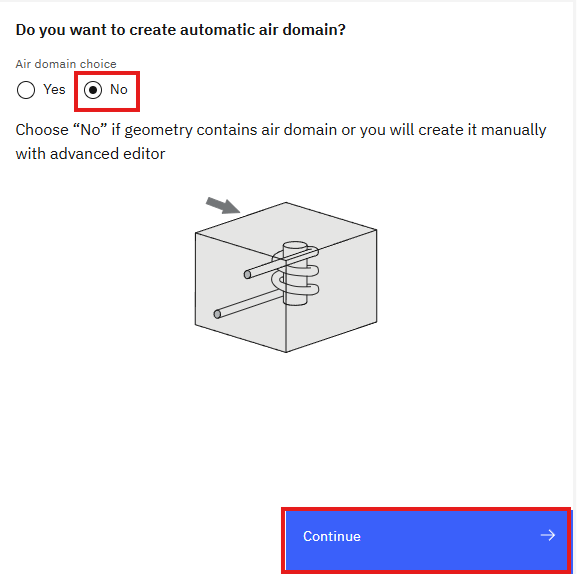
After that, CENOS will ask if you want to create an automatic air domain, select NO and click CONTINUE.
After that you will see an empty role selection window.
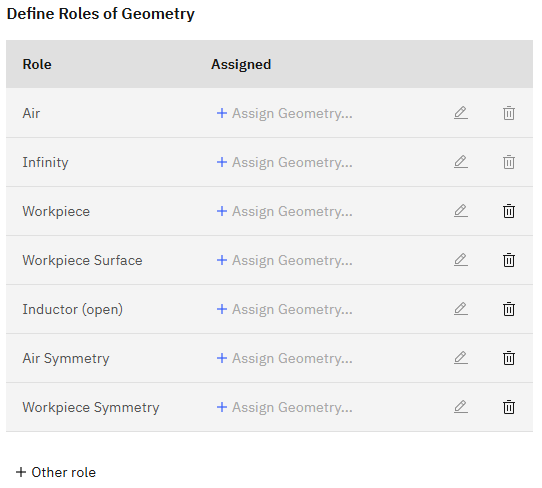
Roles
The role selection is the same as in 3D cases, with the exception that volumes are 2D elements and faces are 1D lines.
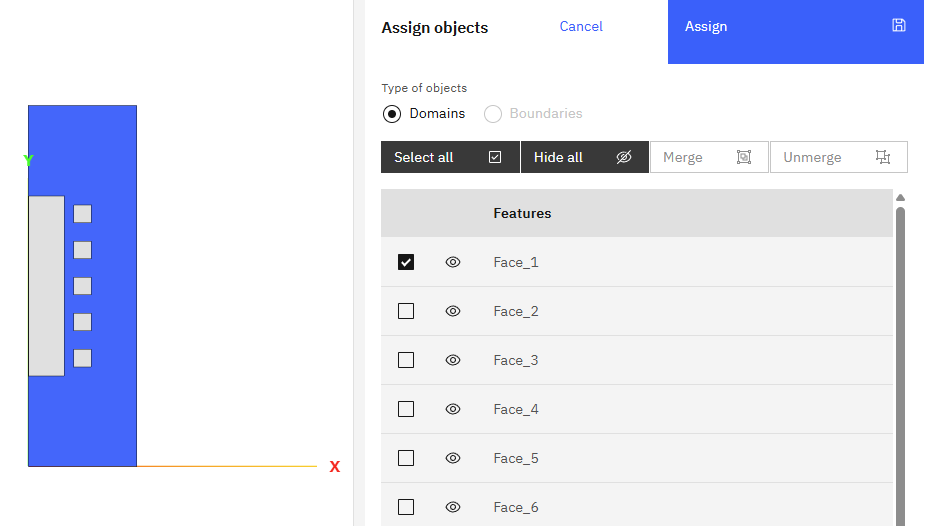
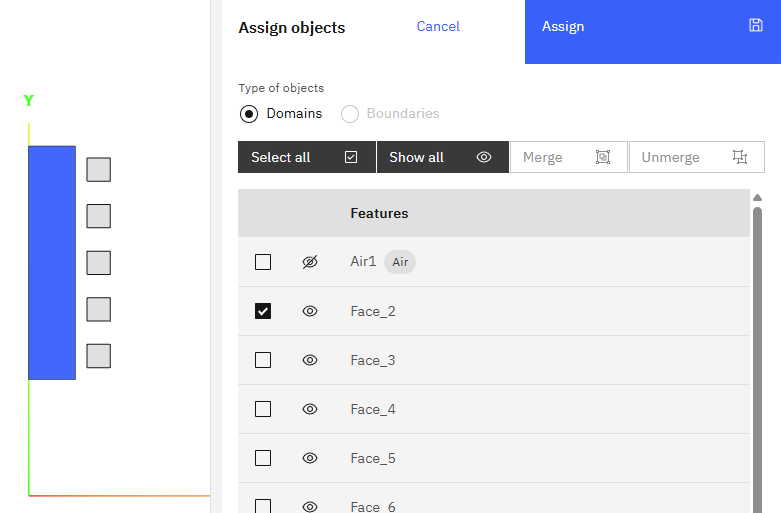
Click on the AIR tab and select the air. If you have hollow inductors, then remember to select the air inside the inductors as well!
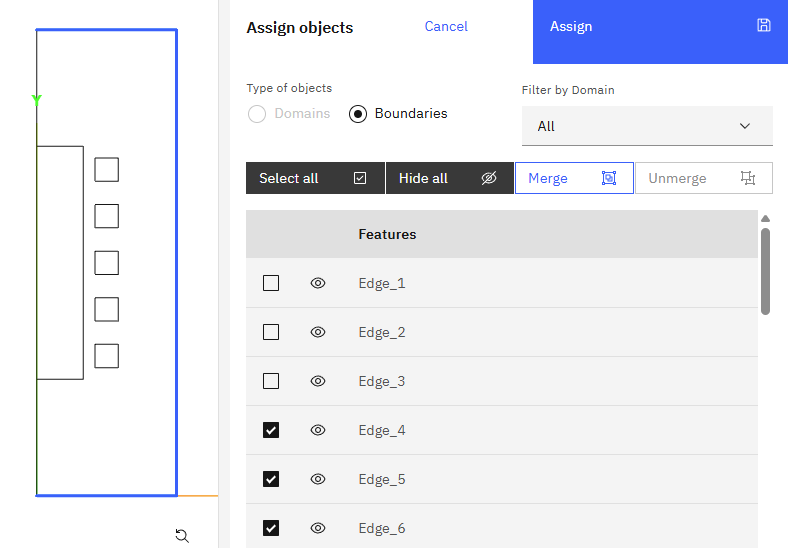
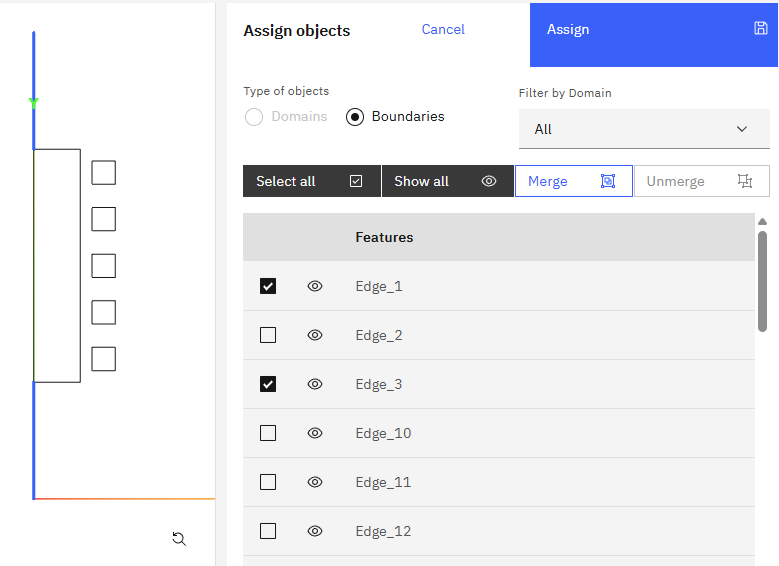
Next, click the INFINITY tab and then select all of the air edges that are not on the symmetry axis:
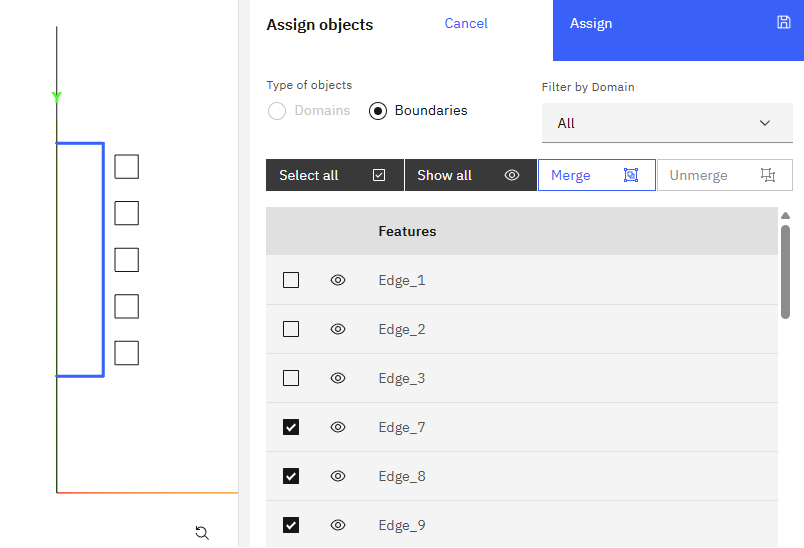
Next, select the WORKPIECE the same way:
When selecting the WORKPIECE SURFACE do not select the edges on the symmetry line.
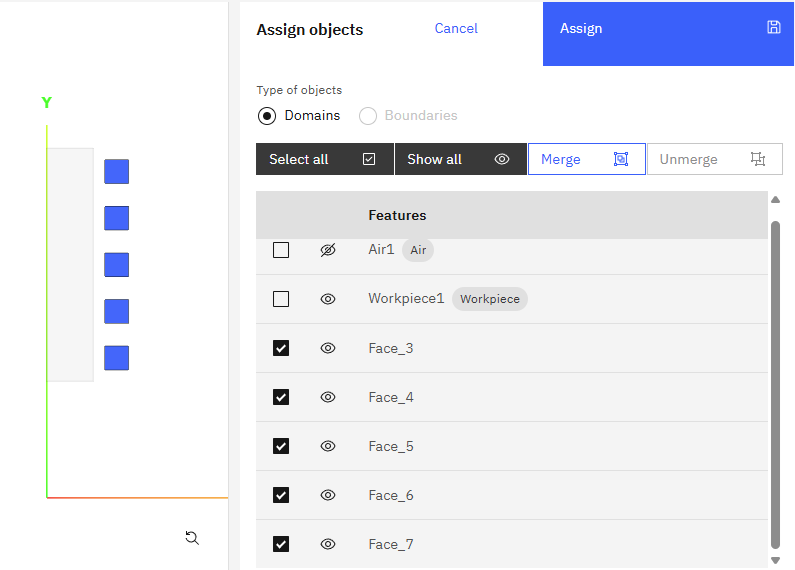
Then also select the INDUCTOR (OPEN) role – the separate windings can be grouped together as one inductor:
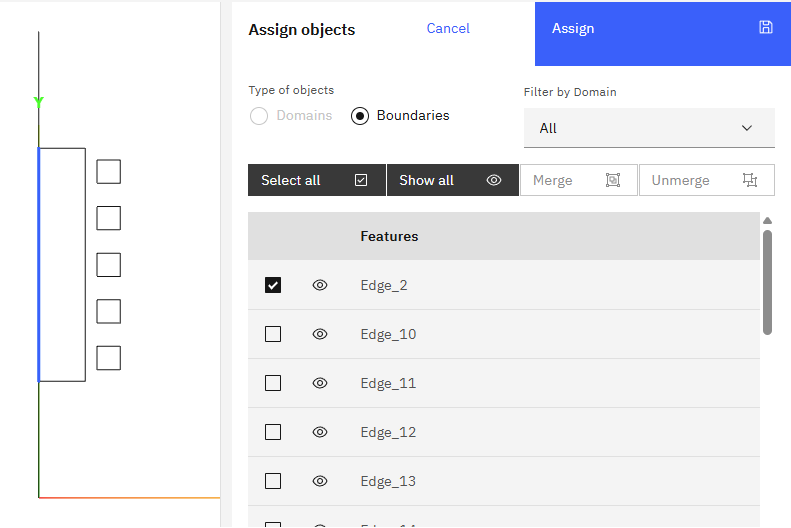
The you will see some new roles that are not present in 3D cases – WORKPIECE and AIR SYMMETRY.
For AIR SYMMETRY select the faces (or face if your workpiece does not touch the symmetry axis) that are on the symmetry axis:
Do the same thing for WORKPIECE SYMMETRY:
At this moment you have assigned all of the necessary roles and can move onto PHYSICS.
Note:
- If you have any more solids, you should assign them as well. You can select a role from the dropdown menu OTHER and select a fitting role, for example, FLUX CONCENTRATOR.
- If your workpiece does not touch the symmetry axis (for example, it is a pipe with a hollow center), you can delete the WORKPIECE SYMMETRY role by clicking the trash icon that appears on the right side when you hover over a tab.
- If any other solids touch the symmetry axis, for example, the flux concentrators, they should also have a separate symmetry group (you can assign WORKPIECE SYMMETRY there) to make sure that nothing has been missed.
- The usual rules about two workpieces touching also apply – do not select as workpiece surface any touching faces between two workpieces, CENOS will automatically assign interface to them.
Physics
Physics settings can be input the same as in a 3D case, with no changes in values.
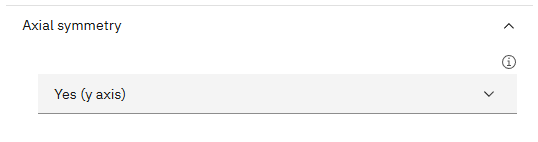
Make sure that the symmetry has been enabled, if the case is axially symmetrical.
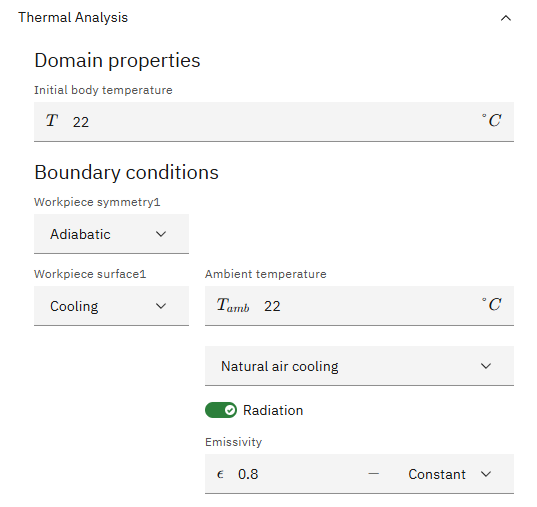
Remember that anything that is on the symmetry axis should be assigned as Adiabatic for thermal analysis, and everything far away, for example, the air box, should be assigned as infinity.
If you selected the correct roles, this should be assigned by CENOS automatically.
After inputting all of the values as usual, you can run the case. If you want, you can also go into the meshing section to refine the mesh before running the case.
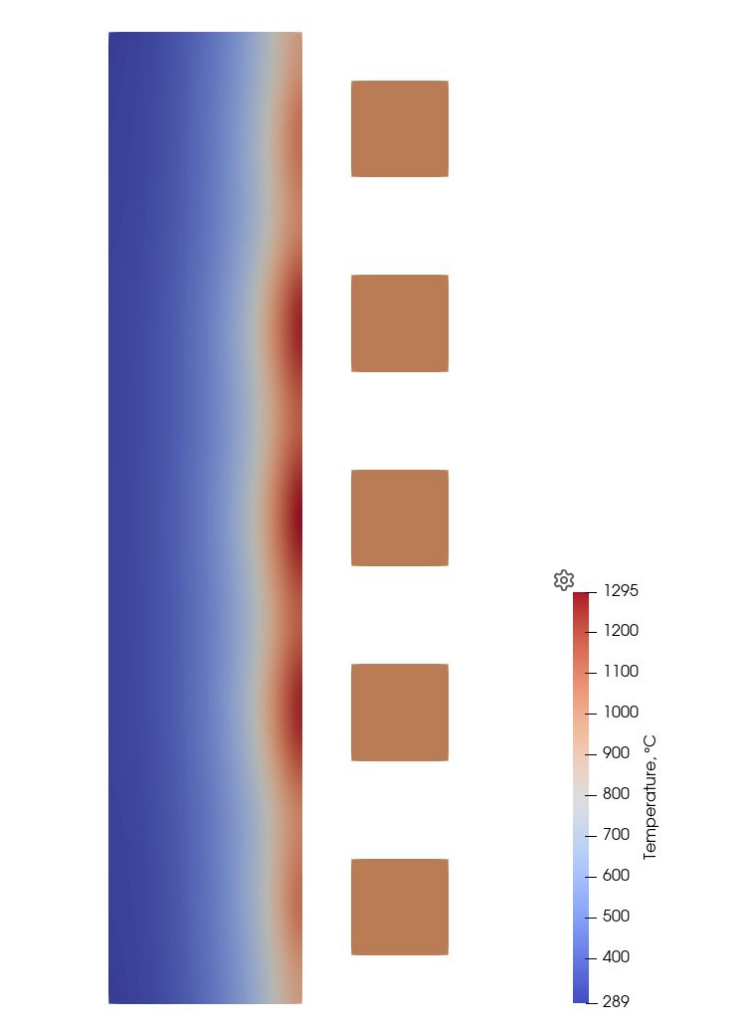
Results
Once the case has finished calculating, CENOS Results Viewer will open as usual and you can analyse the results the same as in 3D cases.

